1/350 DKM Bismarck (Academy)
|
by Rainer Michalek |
1/350 DKM Bismarck (Academy)
Aftermarket items used:
Building the model
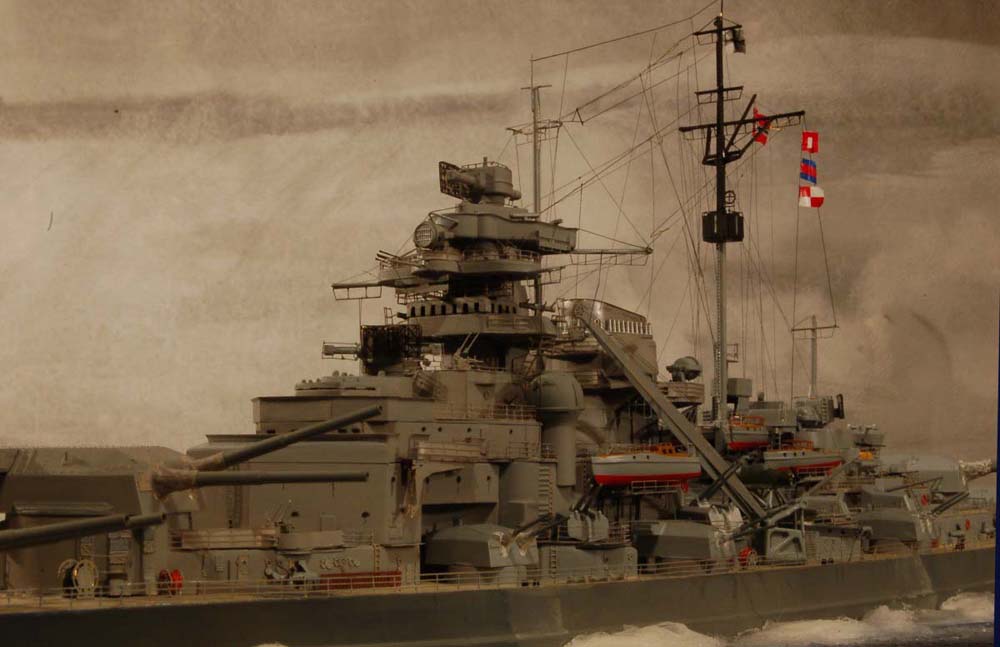
I cannot recommend this model kit. It is virtually similar to the old Tamiya kit and shares its defects, such as lack of scuttles and vents. It has been superseded by the superior Revell offering. Correcting the kit´s defects in order to present an accurate model means a lot of work and heavy use of PE parts. The two volumes by Josef Kaiser mentioned above were indispensable in this build. The kit superstructure decks were replaced by PE items available in a separate set. The gun barrels for primary and secondary armament and heavy AA guns were replaced by machined brass items from BMK (Burkhardt Masch Kleinserien of Germany); they may be mounted in any desired elevation. I reproduced the various blast bags sealing the inside of the turrets from spray using Vallejo putty. This material may be diluted with water and is easily sculpted.
Watertight doors, inclined and vertical ladders, and many other details were either missing from the kit or represented crudely and oversized. These were replaced laboriously throughout the ship.
Paint scheme:
Rigging the Bismarck was a piece of cake in comparison with the most challenging IJN Nagato. Here are my recommendations for rigging with stretched sprue:
Sprues from vintage Airfix sailing ship kits are best suited, as they are black and proper diameter. After heating and stretching the material to the desired length, the start of the individual line is attached with CA glue. The end of the line is glued to the model using Revell plastic glue, as this will dissolve the material and leave a clean end without any excess material. After letting the glue cure, the line is tightened using heat from an electric waxing knife.
Making the sea base:
I used a veneered chipboard as a base. An edge band was used. A piece of styrofoam of 50 mm thickness was cut to size and glued atop the chipboard. The hull´s perimeter was marked and enough material was cut away to properly sink the lower hull into the styrofoam. Now the base was painted in the desired sea shade using tempera. Black, blue and white were used and mixed accordingly to achieve the desired effect. The structure of the sea´s surface was sculpted with Rico´s acrylic structural paste. This leaves a clear and glossy surface which is superior to the result achived with silicone caulking. Various larger and smaller spatulas (the latter from dentist´s supplies) were used to work on the material. The smaller spatula was used to blend the hull into the seascape. Excess material may be removed with a brush and water. Depending on the thickness of the layer of gel applied, the material takes about six hours to cure until it is dry to the touch, and about 24 hours to fully cure. To produce wave effects, cotton wool is mixed with the acrylic gel. After curing, the seascape was drybrushed using Schminke´s titanium white.
Conclusions
This kit is only recommended for advanced modelers without too much of a commitment to accuracy. Only those with a lot of experience should consider taking on the challenge of accurizing it with a lot of PE.
References:
